
5 - Introduction to iOS: Part 1
This is going to be the best day of your life. We are going… to build… our first… IPHONE APPLICATION. Wooo!
We are finally going to create a very simple iPhone application that you can show to girls or guys at the bar and everyone will swoon over you to the point of pure annoyance and you will desire to become a hermit and program more iPhone applications… ok well maybe not as intense as that possible scenario, but you never know!
Lets do this.
Creating the Project
Start by loading up Xcode, but instead of opening a playground file, go to File > New > Project. You should then see the following window:
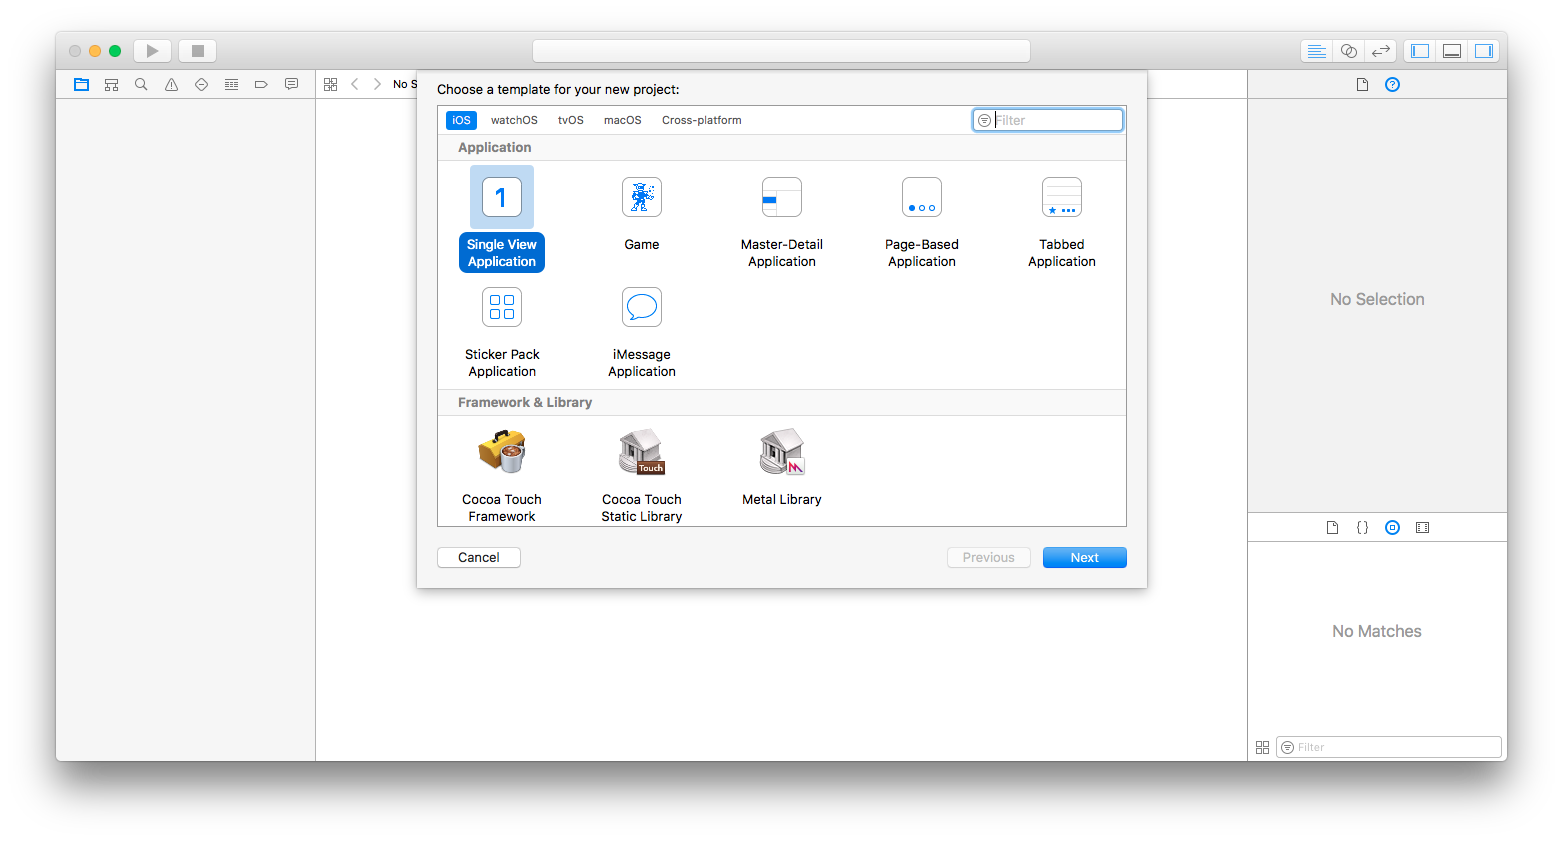
Select Single View Application. iOS projects have a bunch of different templates to choose from. We will get into templates in later tutorials.
There are not a bunch of options to choose from:
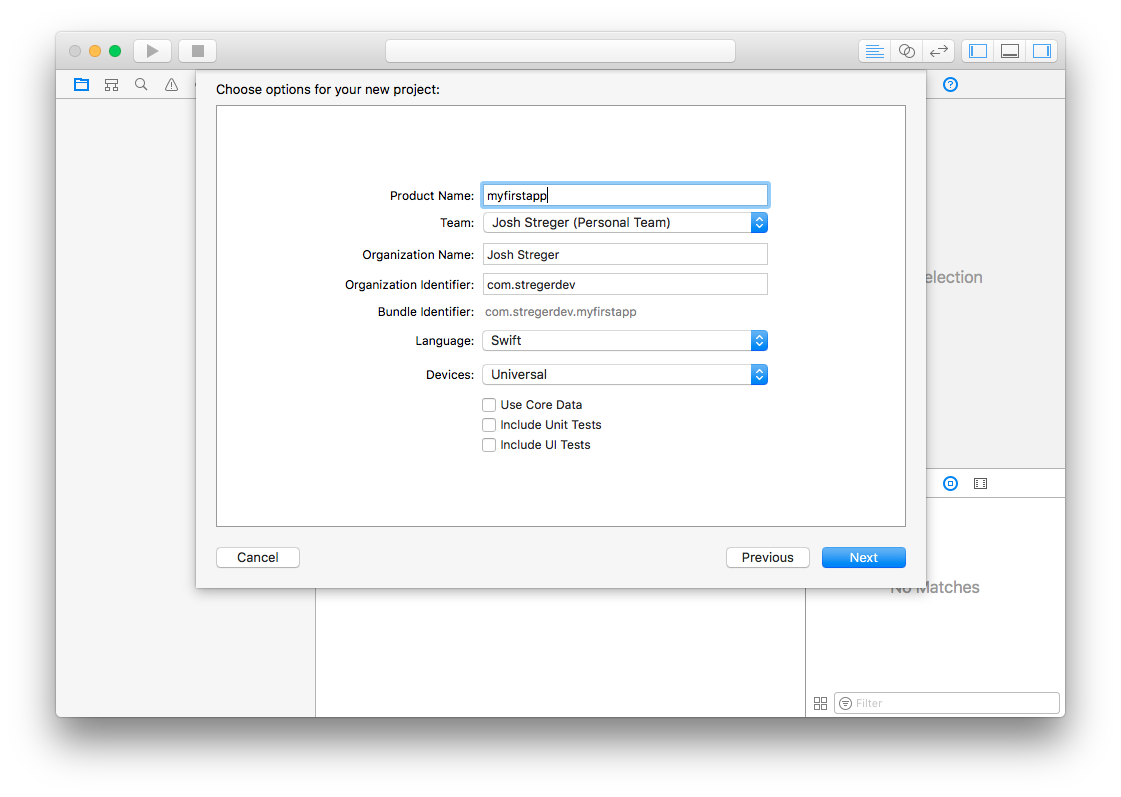
Once we click next we then have our whole project directory and settings page:
There are a ton of options that can be changed on this screen, such as the name of your app, app signing, deployment info, etc. Lets go down to deployment info and check off landscape left and landscape right We want our app to just be portrait with no flipping.
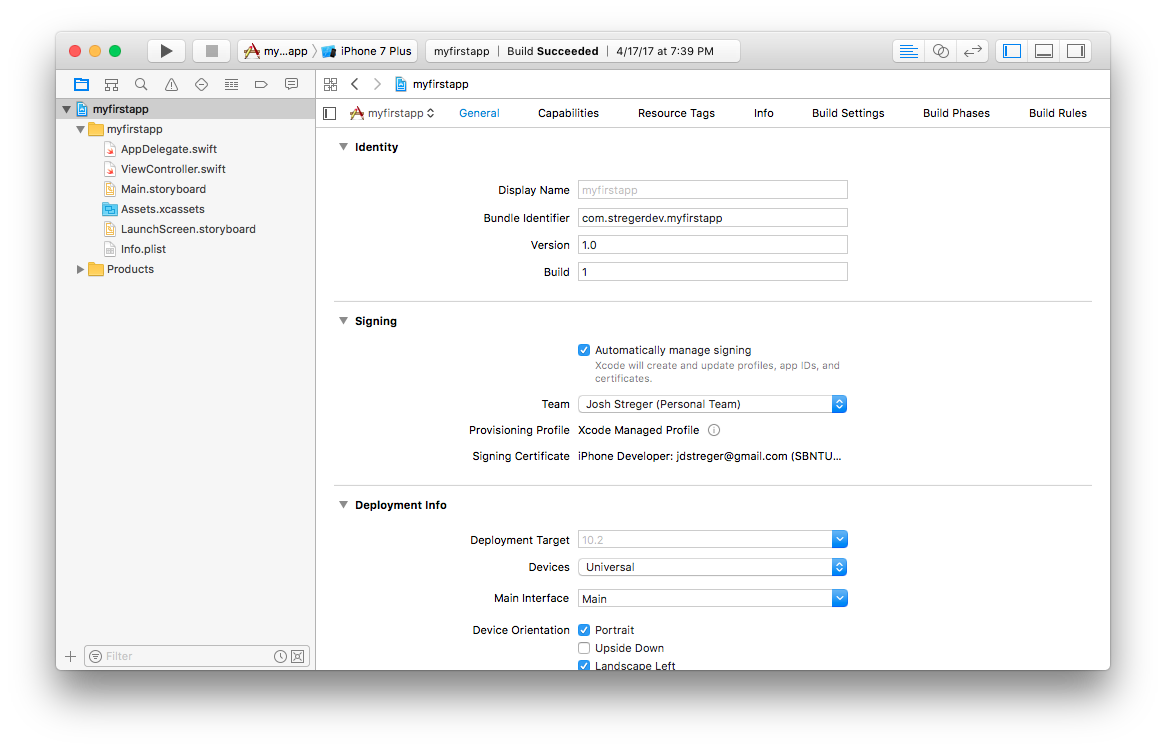
The Files
There are a few important files that we have starting out:
- AppDelegate.swift: We will learn more about this file later, but pretty much it contains code that is used to control different states of our application, and can also perform operations on behalf of other classes we create.
- ViewController.swift: This is the file that will “control” our initial view. On default, the single page application template creates our single page with this controller.
- Main.storyboard: This is the UI Development interface file for our project, we can edit how we want our application to look, and we can also add functionalities. Software development doesn’t all have to be done programatically for iOS :)
- Assets.xcassets: This folder is where we will place our assets for our application. In this project we only need one image.
Main.storyboard
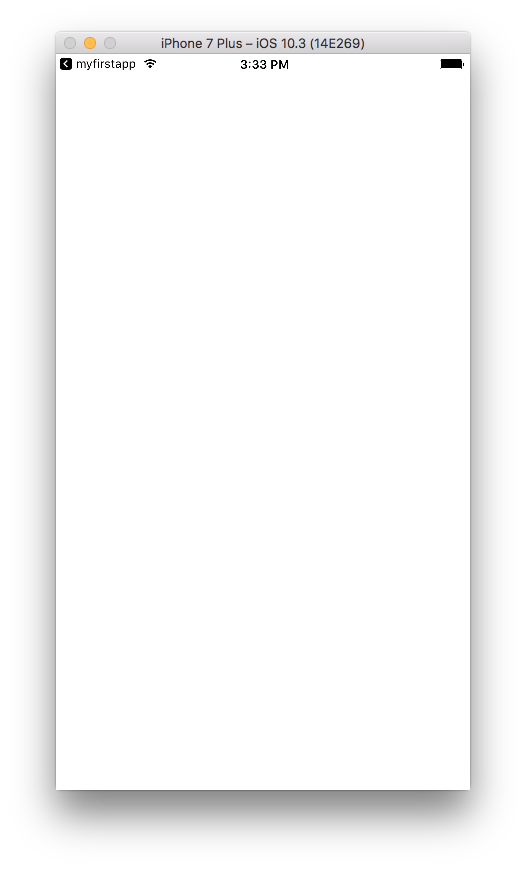
If you press the play button in the top left of our Xcode IDE, it will run our program. It opens up our iOS simulator (in whichever platform we desire) and load up our app. If you run it now, you will see a blank screen.
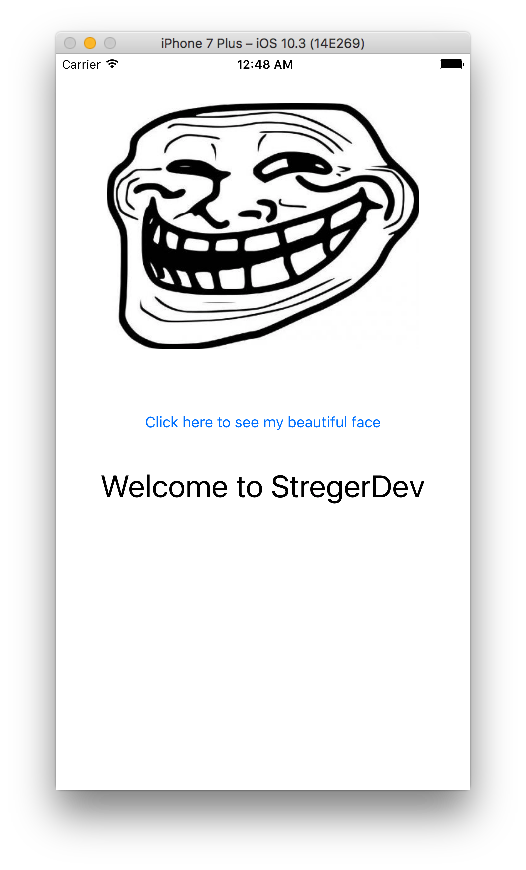
What I want this app to do is simple: I want there to be a button in the center of the screen. When the button is pressed, I want it to display a picture of myself at the top half of the screen, and I want it to also display a block of text that says “Welcome to StregerDev” at the bottom half of the screen. I also want the background color to change to Light Blue.
Simple enough?
Let’s start by opening up Main.storyboard we see a lot of different sections.
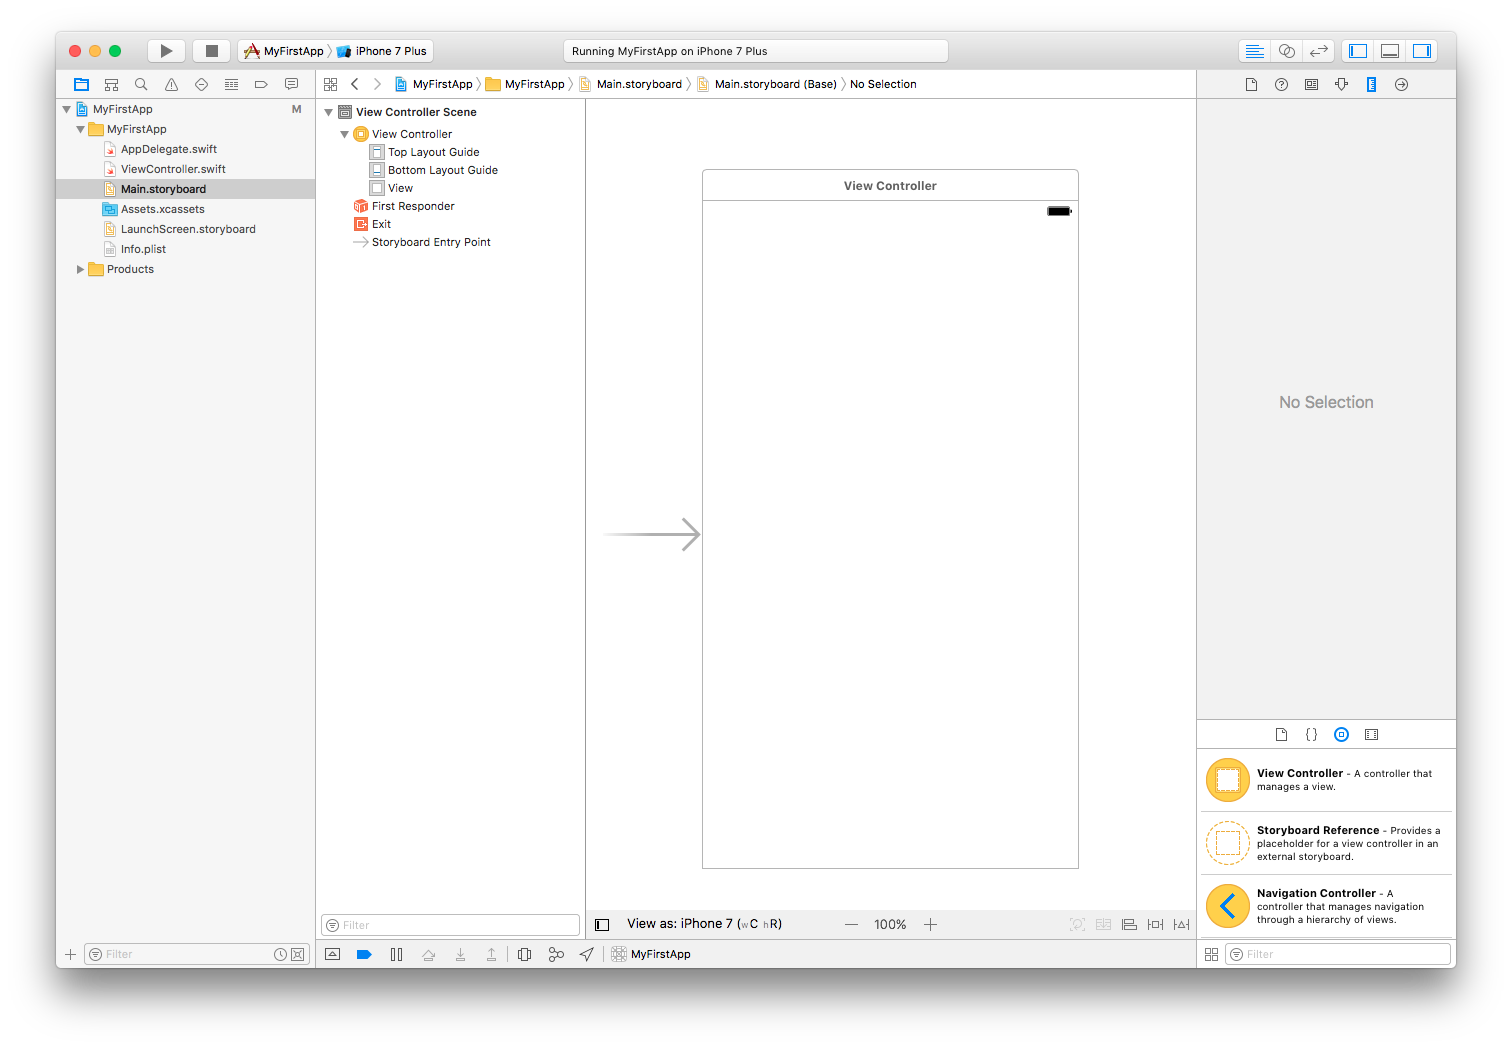
We have our project directory files to our left. Directly to the right we have our directory structure for our objects within Main.storyboard. In this case we only have one view controller. In the middle we have our interactive design pane in which we can actually drag and drop different items onto our controller. On the right we have our utilities, where we can change properties over different components that we have selected.
Introduction to Constraints
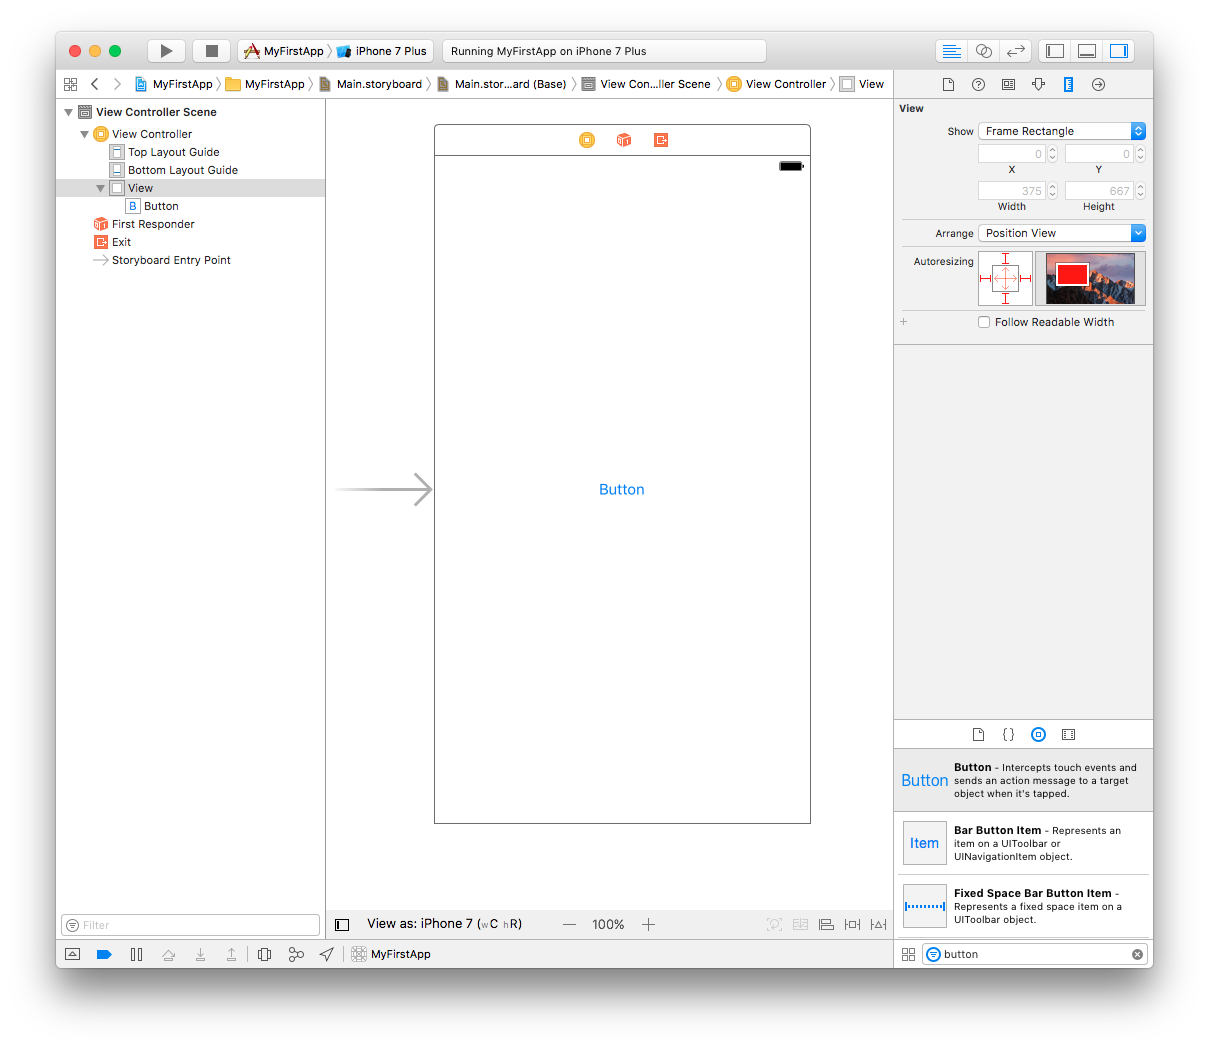
We first want a button, so in our bottom right corner, in the Object library, search for a button and drag it onto our View Controller. It should look like this:
Let’s run our app and see what’s up:
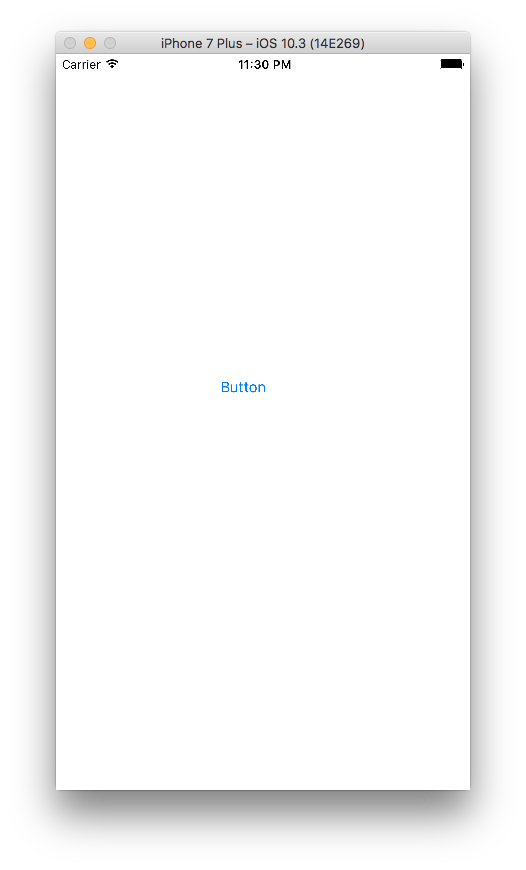
Why is our button off? Well, if you take a close look, in my storyboard editor I am viewiing my controllers as iPhone 7 size, while I am running my app in an iPhone 7 Plus.
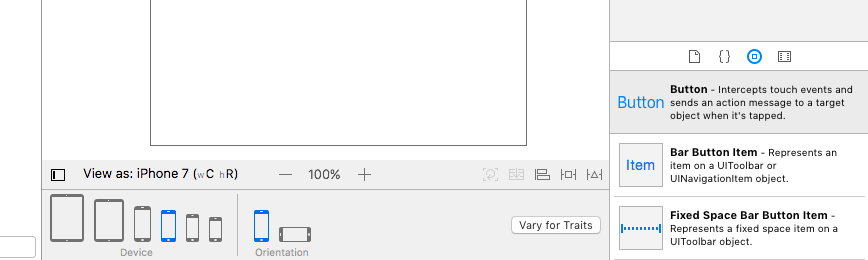
Apple products come in all different sizes, and it is important that while we develop our app to make sure we are creating a version or multiple versions that can work on all of the devices. The screen of an iPhone 7 Plus is much larger than an iPhone 5, and so constraints have been invented to help with this.
Constraints allow you to set distances from relative objects for different components of a view in order to keep it consistent between platforms. We can set our button to have an x value that sits in the middle of the screen. The align button is in the center left bottom portion of the iteraction pane, with the button highlighten, we can enter the alignment tab and check off horizontal and vertical alignment.
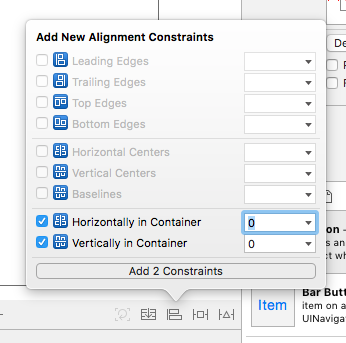
If we click add constraints and rerun our application, the button will now sit in the center for any size device.
Constraints are an extremely important part of iOS development, and it can get pretty advanced. We are starting early with easy constraint applications to get you used to it.
Adding the Image and Label
We can change the title of our button by double clicking on it or highlighting the button and changing the value of Title in the Attributes Inspector of the right pane. I am changing it to say “click here to see my beautiful face.”
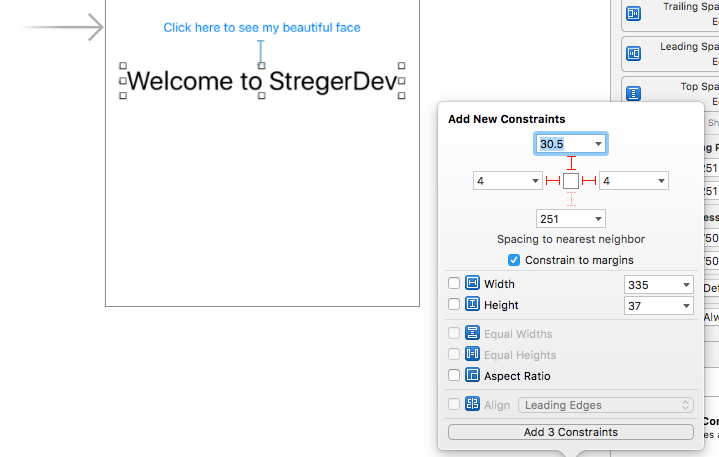
We can add the label by grabbing one from the object library where we got our button. Drag it to the bottom half of the screen. I set the font to be size 31, and I wrote the label as “Welcome to StregerDev”. I also set the constraints to be 4 from the left and right and 30 from the button.
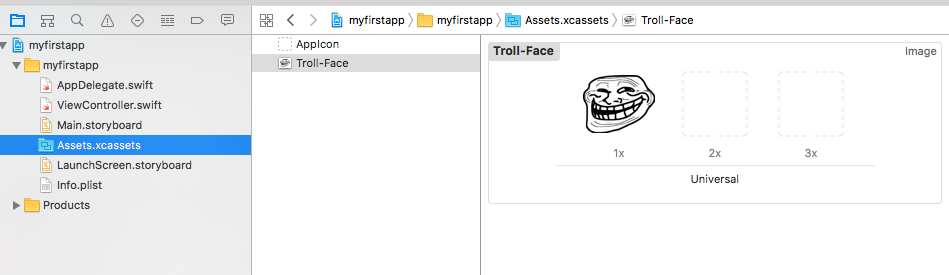
Now to add our image. Click on the Assets.xassets file in the directory on the left. From your desktop you can drag any image that you like into the list of assets below AppIcon. As you can see I have dragged my beauitful mug:
Go back to the main.storyboard file and add an Image View to the View Controller canvas. This can be done by dragging Image View from the Object library to the View Controller. In the Attributes Inspector of the right pane, there should be an Image View Section when your dragged Image View is highlighted. This is where you can use the drop down menue to choose an image you have in your assets folder! Wow. Neat. Based on your image, you may have some strange stretching going on. We will talk more about Content Modes in another tutorial. But for now use the Content Mode dropdown in the View section of the Attributes Inspector to choose a mode that makes your image look… mostly correct. You may have to experiment a little bit with the different modes and also different sizes for your image. That’s ok, all of this is about experimenting and having fun. Don’t forget to add some constraints!
Here are my contraints for my image:
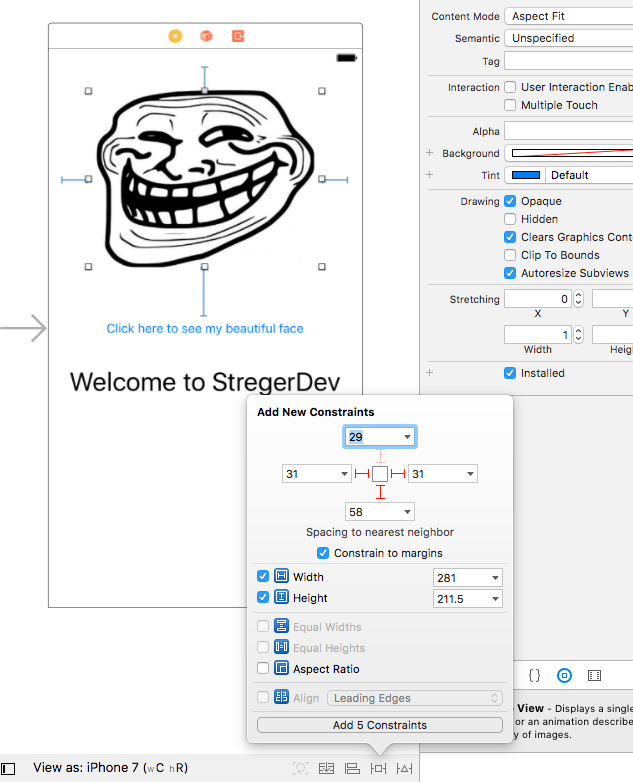
I have 5 constraints set up:
- Leading Edge
- Trailing Edge
- Bottom Edge
- Width
- Height
Now that we have everything in place, let’s run our app and see how she looks:
This looks great, except now we need to add some functionality. Surprisingly, we have done everything up until now without any code whatsoever. Now we will bridge the gap between UI Development and our Swift Skills.
IBOutlets
IBOutlets are simply connections that we have to our storyboard. This is how we write functions that will occur when a button is pressed, etc. Go to Main.storyboard and then click the Assistant Editor. It is the button that looks like two intersecting rings (Venn Diagram) in the top right corner.
This button allows us to look at two files at the same time. It also allows us to easily create IBOutlets of our button, image, and label. Use the Manual directory in the right code editor to navigate the project and edit the ViewController.swift.
Once you have the Main.storyboard open on the left side and the ViewController.swift open on the right side (or vice versa), hold down control and drag from the Image in our Main.storyboard to the white space between the ViewController class declaration and the viewDidLoad() function.
If done correctly, a little popup should come up asking what options you want to set for this connection. Choose Outlet as the connection type, name the image connection “faceImage” leave the type as UIImageView, and you can keep the storage as weak. Click connect and viola, you have created your first IBOutlet.
Create another IBOutlet with the button and the label. Name the button outlet “buttonLabel” and the label outlet “label”.
After you have finished, this is what our ViewController.swift code should look like:
//
//  ViewController.swift
//  myfirstapp
//
//  Created by Josh Streger on 3/21/17.
//  Copyright © 2017 Josh Streger. All rights reserved.
//

import UIKit

class ViewController: UIViewController {

    @IBOutlet weak var faceImage: UIImageView!
    @IBOutlet weak var label: UILabel!
    @IBOutlet weak var buttonLabel: UIButton!


    override func viewDidLoad() {
        super.viewDidLoad()
        // Do any additional setup after loading the view, typically from a nib.

    }

    override func didReceiveMemoryWarning() {
        super.didReceiveMemoryWarning()
        // Dispose of any resources that can be recreated.
    }
}
Now that we have created outlets for these objects, we can manipulate them in code. For now let me explain the existing code in ViewController.swift. The viewDidLoad() function is run on the first load of the View Controller, that means that when this particular scene is loaded, viewDidLoad() is called. didReceiveMemoryWarning() is not important to us right now, but it is used to dispose of resources when we have hit a memory limit in our application.
Simply add these two lines of code below super.viewDidLoad() within the viewdidLoad() function:
faceImage.isHidden = true
label.isHidden = true
Run our code and you will now see that the only thing there is our button.
Next we will add an IBAction to reveal these objects.
IBActions
An IBAction is a function that occurs when an object is interacted with, such as the press of a button. We can set it up so that if a person touches our button, it will trigger this function. It is extremely similar to how we created our IBOutlet. Simply control drag the button to our ViewController again.
This time change the Connection type to “Action”. Name our connection “button” or “buttonPressed” or whatever make sense to you (I named it button). Keep the type as Any, event as Touch Up Inside, and leave the Arguments as Sender.
This will create our function. Fill it with this code:
@IBAction func button(_ sender: Any) {
        buttonLabel.isHidden = true
        faceImage.isHidden = false
        label.isHidden = false
    }
Run our program and you will not see that when you click the button, the faceImage appears along with the label, and our button also dissapears.

Congrats, you have created your first application. Stay tuned for the next tutorial.